
Lock, Latch & GO.
WARNING: Before proceeding to assemble your Challenger board for the first time, please read and understand the user manual thoroughly. The assembly video is meant to supplement the user manual, not replace it.
challenger assembly video
Quick Reference Guide
*Disassemble your board on a flat surface and follow the steps below in sequential order.
1. Remove the fin. We recommend removing the fin while it's still submerged in shallow water to prevent damage.
2. Remove the paddle and seat (if applicable).
3. Unlock the 6 bottom latches. It doesn't matter which section you begin with, but unfasten the center latch first.
4. Unlock the 4 top latches. Once all of the latches have been unlocked, the three pieces can be separated.
For more detailed instructions, refer to page 13 in your Challenger User Manual.
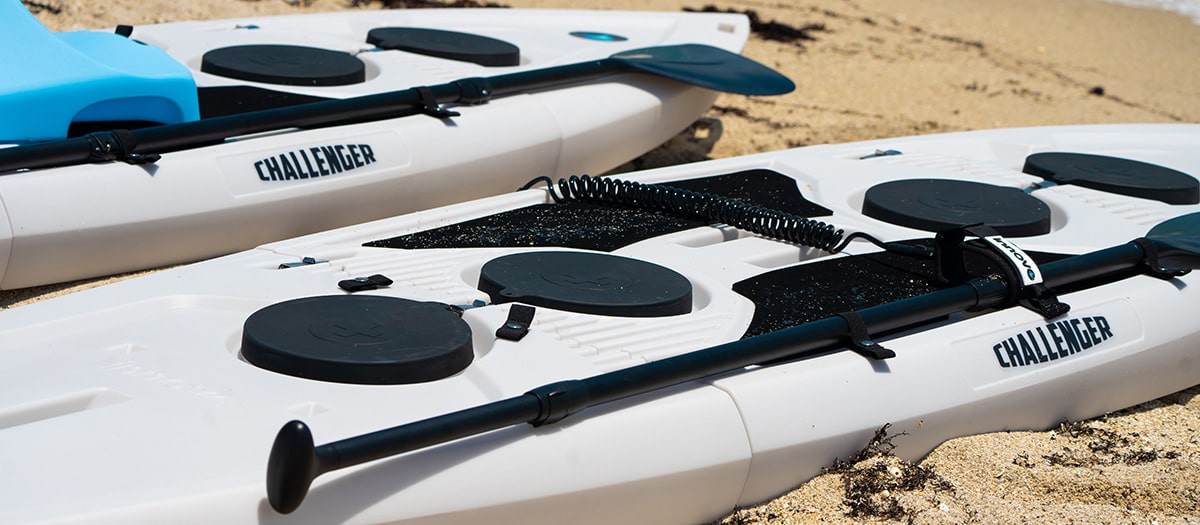
To use your board as a sit-on kayak:
1) Open the snaps of the three seat straps located on the center and tail sections.
2) Fit the seat over the center section‘s rear hatch cover and seat wells. The two nodes at the front of the seat‘s underside will fit into the seat wells. The hatch cover must be securely in place before fitting the seat.
3) Once the seat is in place, snap the seat straps into the buttons on the seat. There are two in the rear and one in front.
For more detailed instructions, refer to page 12 in your Challenger User Manual.